Learn how to clean your headphones and earphones easily with this complete guide.

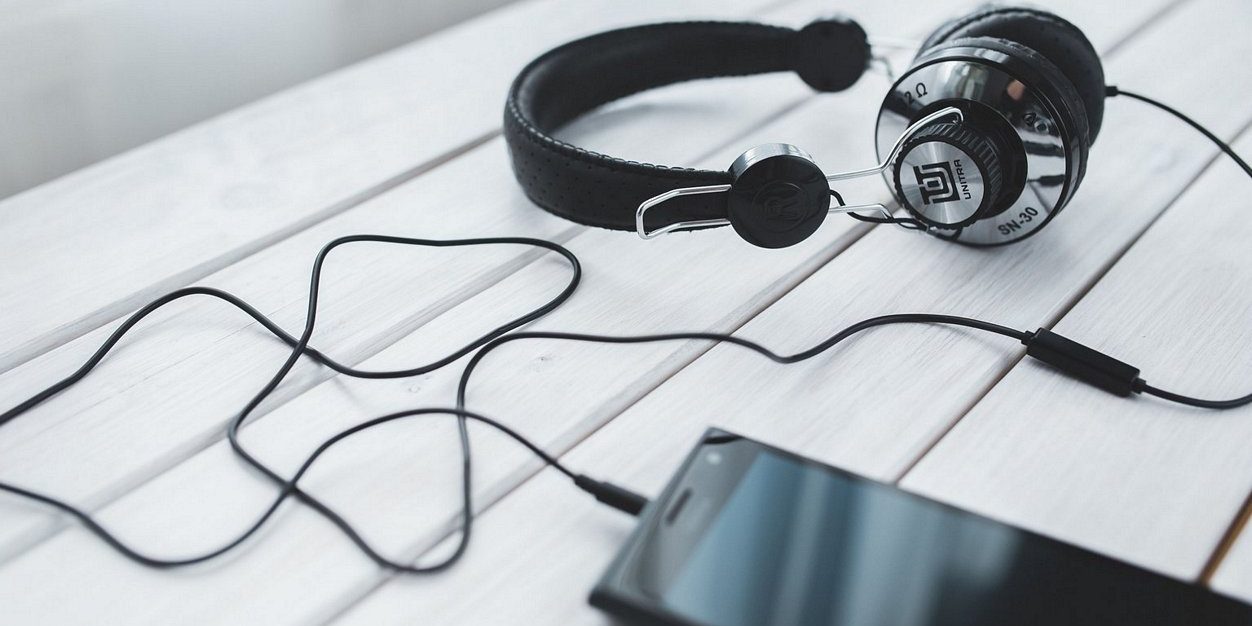
Ever since the invention of the Walkman, headphones have become an integral part of our lives. And with the ever-rising popularity of #squatgoals and #fitspo, many of us are adopting a more active lifestyle while grooving out to our own personal soundtracks on Spotify.
We’re willing to shell out quite a bit of dough in exchange for some quality headphones, Bose, Audio Technica, Sennheiser, and dare we even say it, Beats. So, it can be infuriating to find that within a year or two, the audio quality seems to drop or the sound is no longer as crisp. Even the most undiscerning of ears can pick up that quality difference especially if we have to amp up the volume button to get a better listen.
Being part of the buy & throw away generation, we might be tempted to whine about how things are not made to last nowadays, and then proceed to get a new pair. But what if there’s actually a really simple solution to this? And that, most of the time, it is only because your headphones are … dirty.
In This Article
Why do we need to clean our headphones?
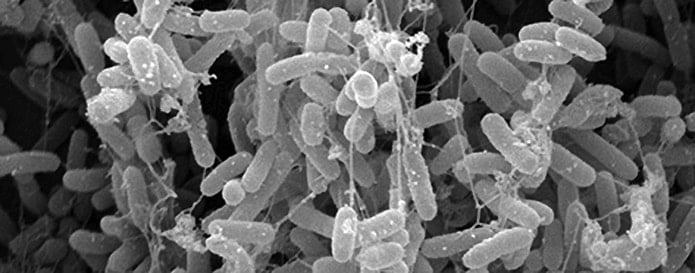
Take out your headphones or earphones right now, and examine the inside of the ear pads or the wire mesh of the earbuds. You see, our habits have resulted in months of clogged earwax, grease and also dust being trapped in the little crevices of our headphones. We always shower and change our clothes after our gym sessions, or morning runs because it is dirty. But when was the last time we cleaned our headphones, post-workout or… ever?
Starting to feel grossed out yet? Well, that’s not even the end of it.
We almost always toss them into our bags, pockets, anywhere, where they continue to mix around with other dust and grime that’s been lying at the bottom since the dawn of time. Then, we fish them out whenever we need and shove them back into our ears without a moment’s hesitation.
And that, my friend, is a surefire way to increase your chance of getting an ear infection, earwax blockage, and a costly trip to the doctor’s office.
We wouldn’t do that to any of our other belongings so why do we do this to our headphones? A little care and maintenance for our headphones can go a long way. This ensures we get the best bang for our buck, but also maintaining our in-ear hygiene.
Getting Started
So, let’s talk about cleaning. It requires a bit more delicacy, a little finesse but all the tools we need can be easily found at home.
Things you need:
-
- A small cloth
- Rubbing alcohol/ hand sanitizer
- Q-tips/cotton buds
- Soap
- Water
- Blu-tack/Multipurpose adhesive
There are two categories of headphones that we will be talking about today:
- Earphones: In-ear monitors (IEMs) / Earbuds
- Headphones: Over-ear / on-ear headphones
How to Clean Earphones
Cleaning the driver unit
The driver unit is where the sound is produced and more importantly the part of the earphones that is inserted into the ears.
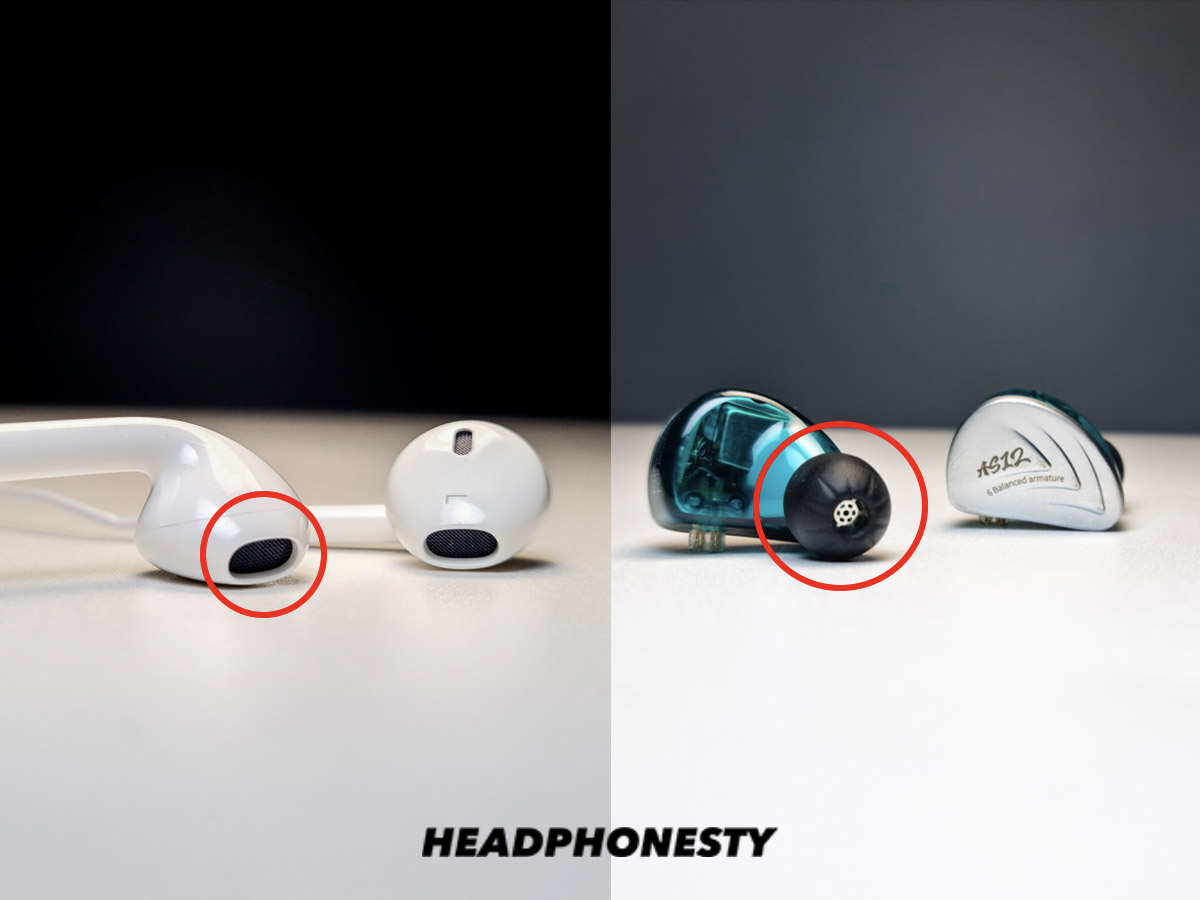
- Hold your earphones with the mesh side facing downwards. Using a dry, soft toothbrush (preferably a children’s toothbrush), brush the wire mesh gently to dislodge any dirt or clogged ear wax. Tap the non-mesh side/logo side of the earbuds to help knock some of the debris off.
- Using a bent paperclip and some multipurpose adhesive like blu-tack or aa asin=”B01FP5QXYQ”]tack-it[/aa], go over the wire mesh and remove the remaining dirt and dust. The adhesive will pick up all the unwanted substances and leave your mesh debris-free.
- Dampen a small cloth with rubbing alcohol or hand sanitizer and do a quick wipe over the metal mesh as well as the wires.
Cleaning the ear tips
These earphones such as IEMs normally come with detachable silicone sleeves/ear tips in varying sizes to provide the best fit for your ears.
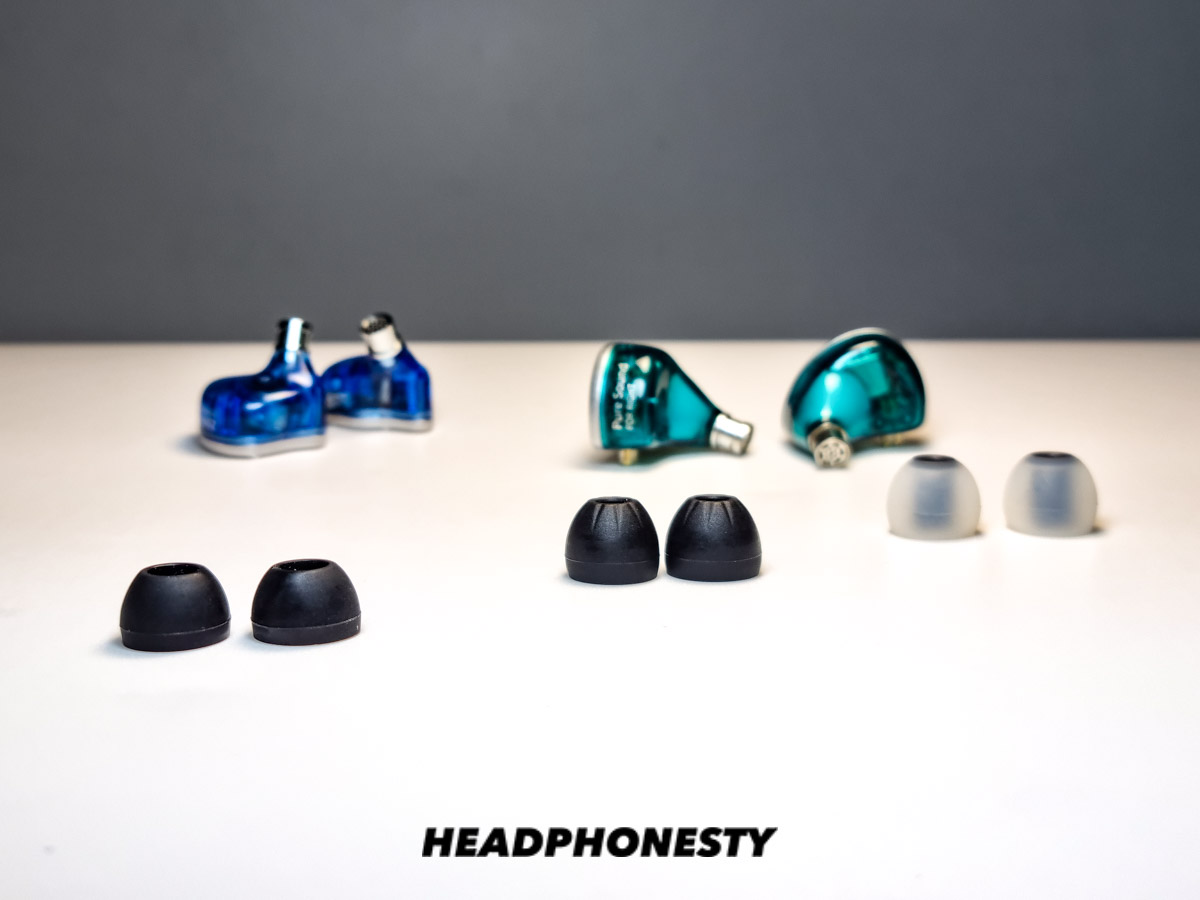
Follow this extra two steps if your IEMs have silicone ear tips only. This does not apply to foam ear tips or any other ear tips that are not water-proof.
- Remove the silicone ear tips and soak them in slightly soapy warm water for about 5 minutes or so.
- Rinse the silicone sleeves, give them a good wipe down and leave them to dry completely on paper towels before reattaching them.
2) How to Clean Headphones
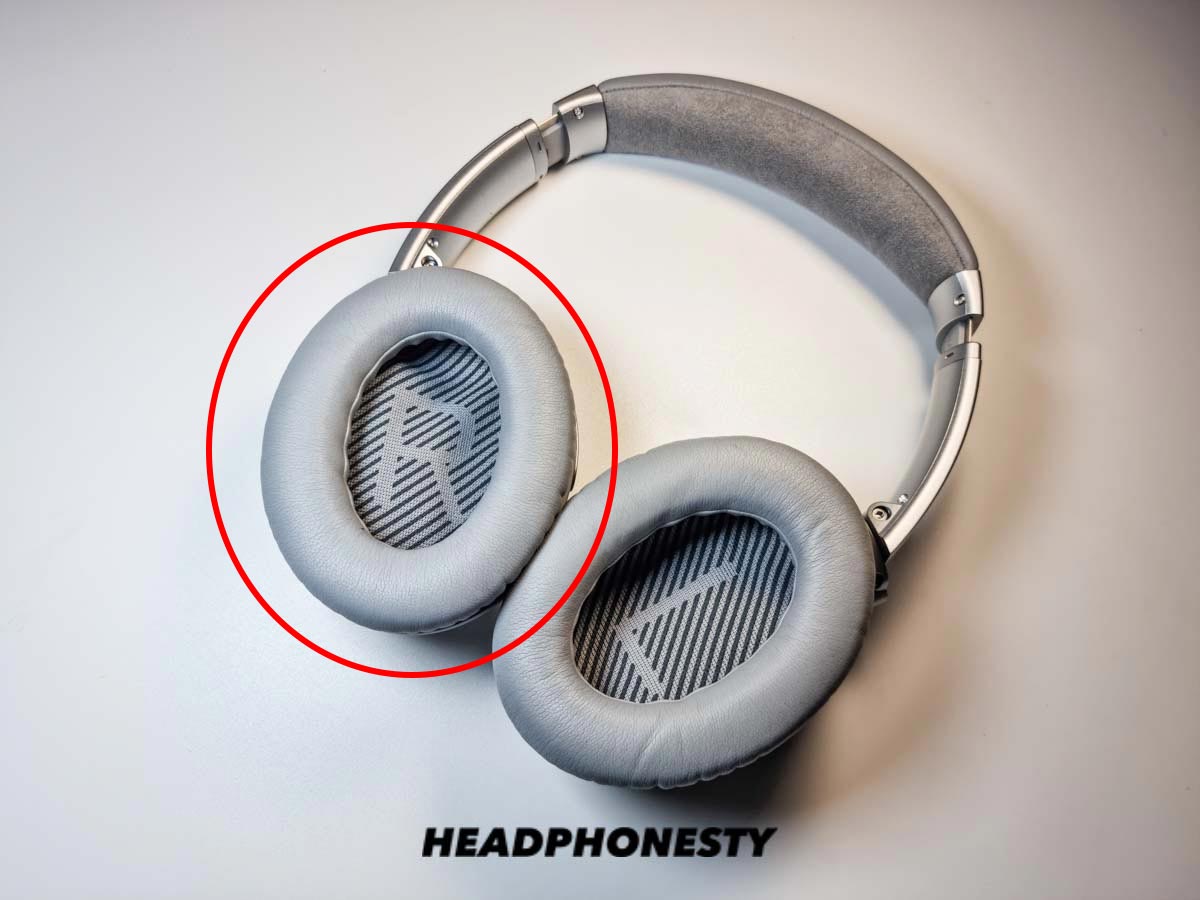
These are slightly trickier as they involve more delicate parts like the leather or foam ear pads that can tear easily. So unless you want to go on Amazon to order yourself some new ear pads, proceed gently.
-
- Remove the ear pads and wipe the exterior of the headphones down with a small cloth dampened with some soap and warm water. Wipe dry with some paper towels and leave to air dry completely.
- Dampen a small cloth with rubbing alcohol or hand sanitizer and gently wipe down the exterior of the ear pads. Then soak a Q-tip/cotton bud in alcohol/ hand sanitizer and use it to clean the nooks and crevices of the ear pads.
- Dab some alcohol/hand sanitizer over the surface of the foam mesh and gently rub both the right and left side together. This will help kill off the bacteria that are residing in the ear pads. The gentle rubbing should also help to dislodge any dirt or grime.
- Leave the ear pads to air dry completely on some paper towels before reattaching them.
Other headphones require specific maintenance processes that may differ from what’s discussed above. For instance, cleaning the AirPods Max requires you to detach not just the ear pads but also the earcups from the headband. For good measure, check out your manufacturer guide.
3) Advanced Cleaning Method
However, if you are looking for that straight out of the factory cleanliness, you will need a more hardcore option.
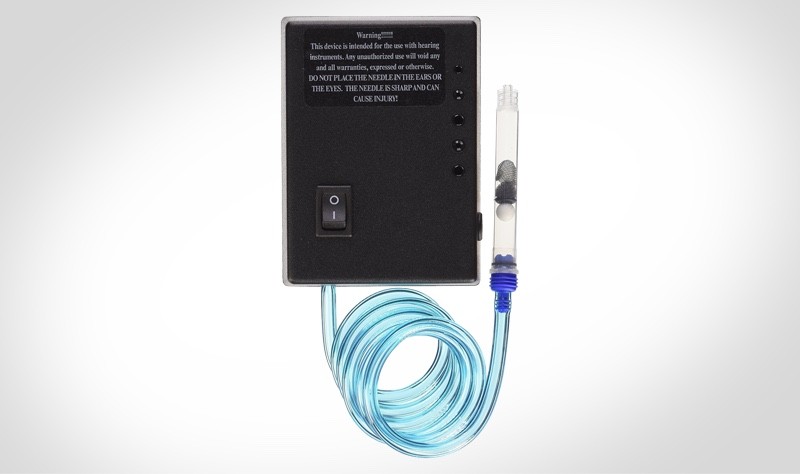
We would recommend getting a hearing aid vacuum. Hearing aid vacuum, as the name implies, is vacuum system for hearing aids. By utilizing small vacuum pumps, it can effectively extract earwax and dirt.
Bonus Section:
1) How to clean headphone jacks
You will want to be sure to clean out your headphone jacks as well. You don’t want to go through all that hard work only to find out that your headphone jack isn’t providing the best fit, do you?
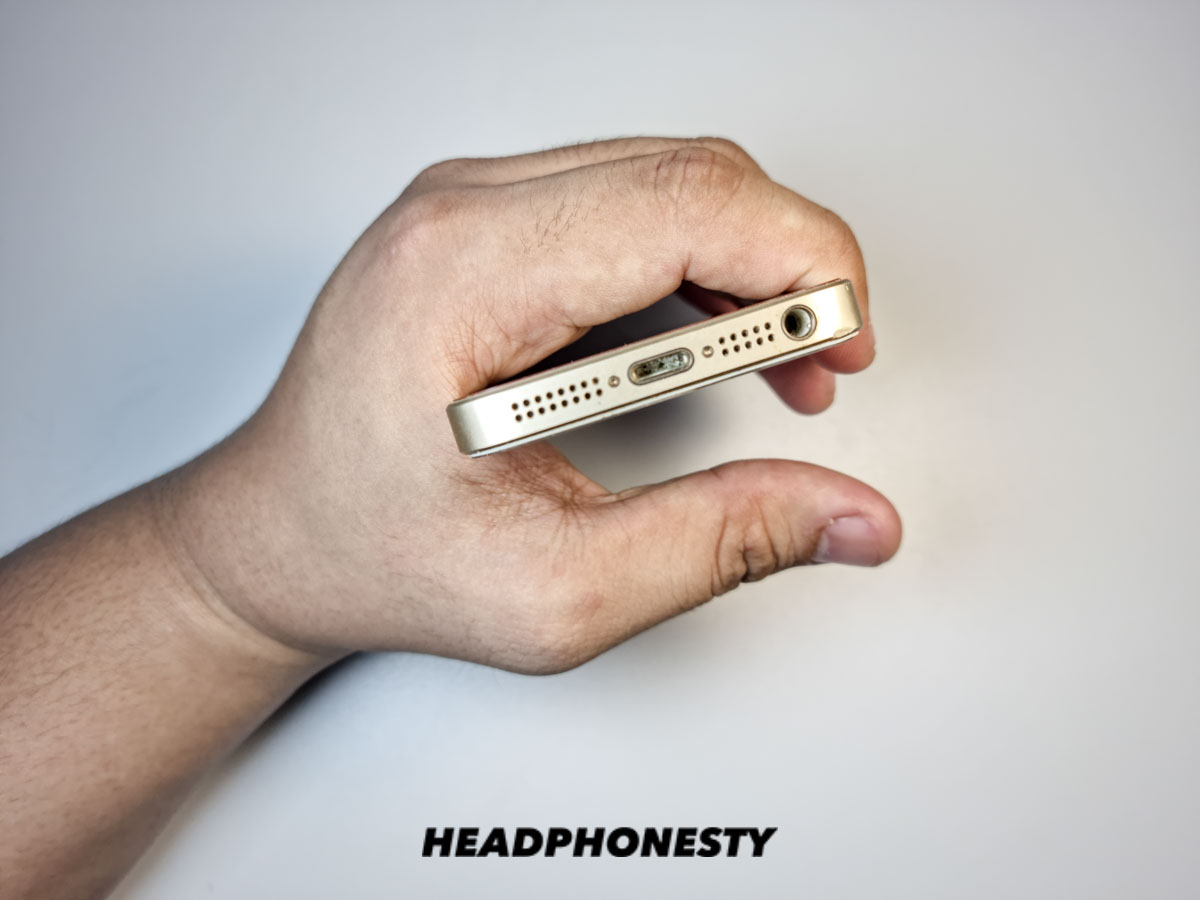
For a prime example, look at the iPhone’s headphone jack. As the interior of the headphone jack is white in color, the dirt that accumulates there are painfully conspicuous.
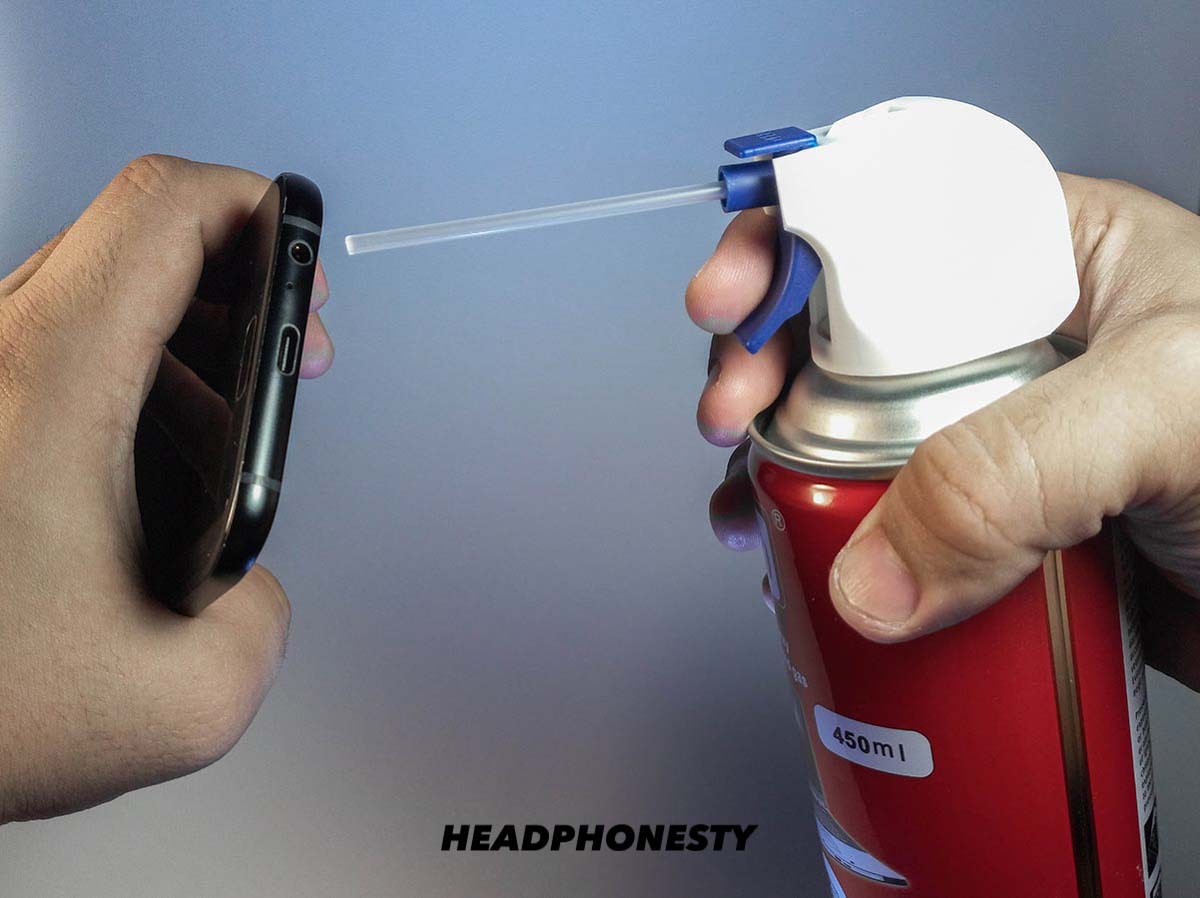
But of course, if you wish to MacGyver it, you could also use an interdental brush, a pipe cleaner, or a bent paper clip with some double-sided tape on it. Insert it carefully and very lightly brush the inside of the jack until any visible blockage is removed.
Remember to proceed gently as you run the risk of damaging the metal interior of the headphone jack if you are too rough with it.
2) Getting rid of the “sweat” stink
Have you ever had that funky smell from your headphones? When you wear your headphones on for a period of time, moisture and dirt stains the ear pads. This can get really bad when you are staying in a damp and humid area. Over time, moisture induces the growth of mold, and then the awful smell develops.
Solution 1: Silica gel packets
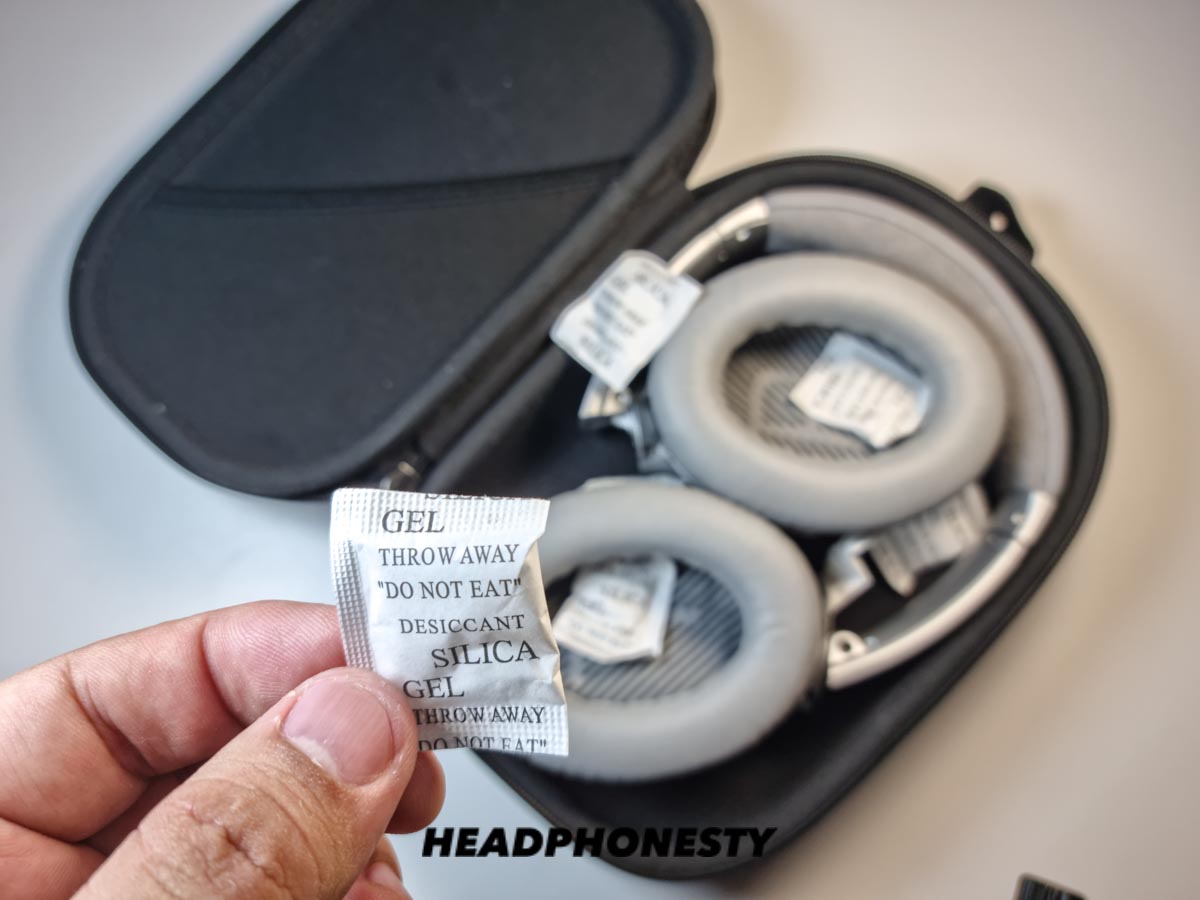
You can find these gel packets within the packaging of food and electronics. These tiny gel beads help control the local humidity level by absorbing moisture really well. Place them in the ear cups before putting away your headphones and this should help mitigate the stinky problem.
Solution 2: Get ear pads replacement
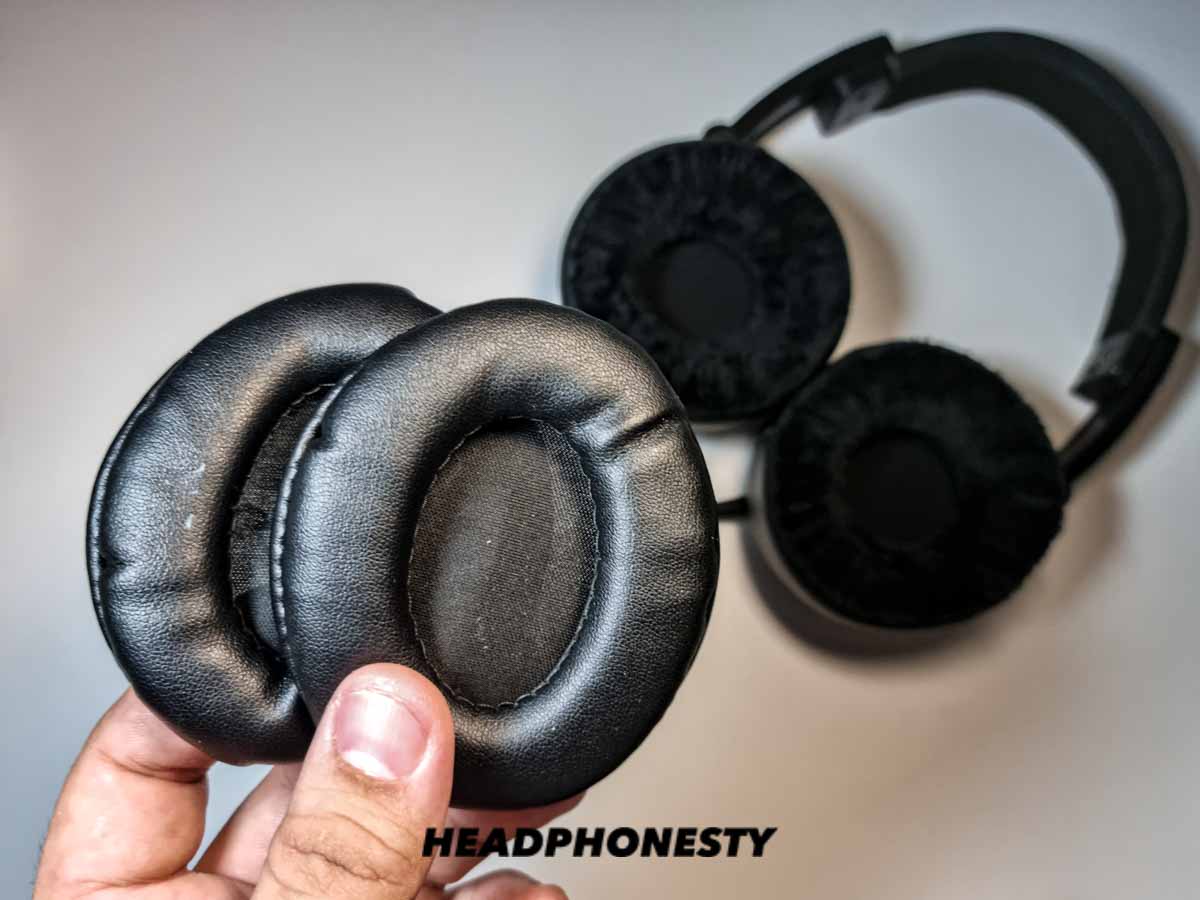
More often than not, it might be too late for solution 1 to do any big help. By buying earpads replacement, it will completely solve the problem. If the original manufacturer’s earpads replacement is too expensive, you can find plenty of other third-party replacements on Amazon.
For example, an official Bose earpads cost this much. Third-party earpads replacement only cost a fraction of it.
3) Keeping your ears clean
Besides keeping your headphones clean, you should also keep your ears clean for an optimal listening experience. Ear wax is waxy oil produced by the ear canal to protect the ear from foreign particles. When your ear canal produces more oil than needed, this is when the ear wax builds up. You can read more about ear wax buildup here.
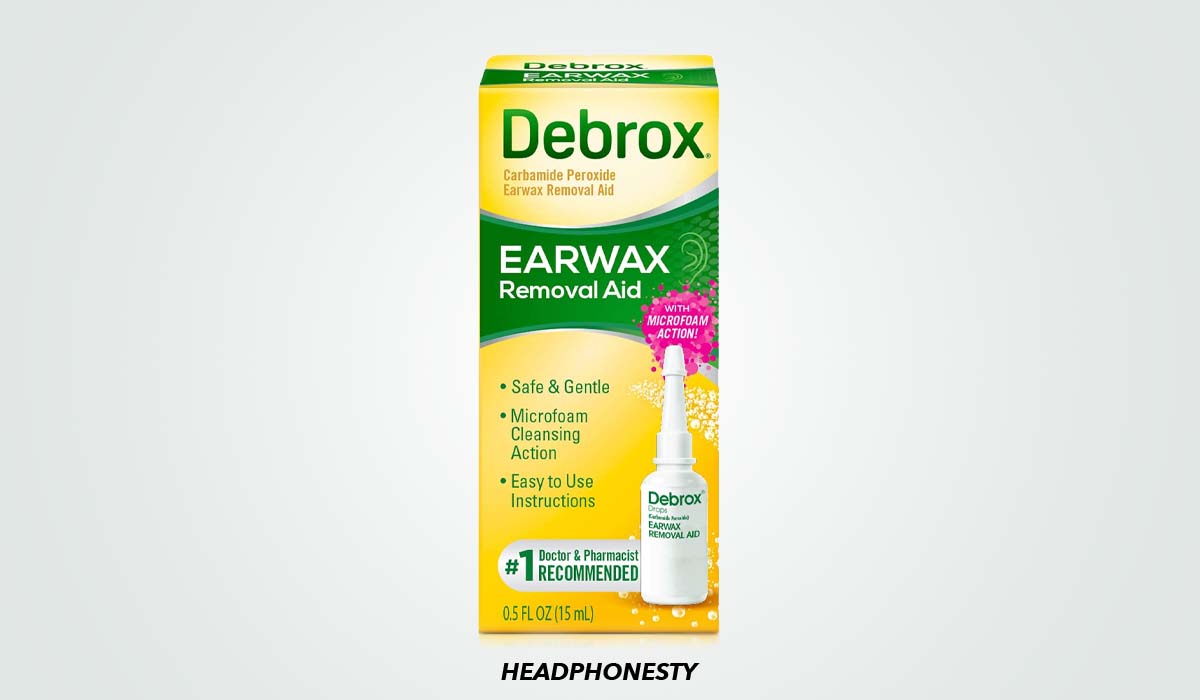
A safe and popular way to remove ear wax is by using Debrox. Debrox cleanses the ear canal of ear wax with microfoam action and an active ingredient clinically proven to remove ear wax effectively.
Conclusion
And there you have it! Repeat these simple steps whenever you need to and they will have your headphones sounding as good as new until the end of time and not to mention, keep your ears squeaky clean.